Showing posts with label Live Inspired. Show all posts

Wednesday, October 30, 2013

{Catching Up.... Day 1}

Well I have been designing for the Down A Dirt Road Scrapbooking Creative Team for 7 months now.... I completed my 6 month term and was asked if I would like to continue on with the Team. I jumped to say yes as it was so nice to pour my creativity into such a great team and it is local-ish to me...lol!

I realize that I have neglected my blogging and will be trying to keep up once I get caught up. We have so many great challenges and kits that we work with each month that it is time I start to share those with you all!

So let's go back to the beginning and I will share with you some of the great projects that I worked on...

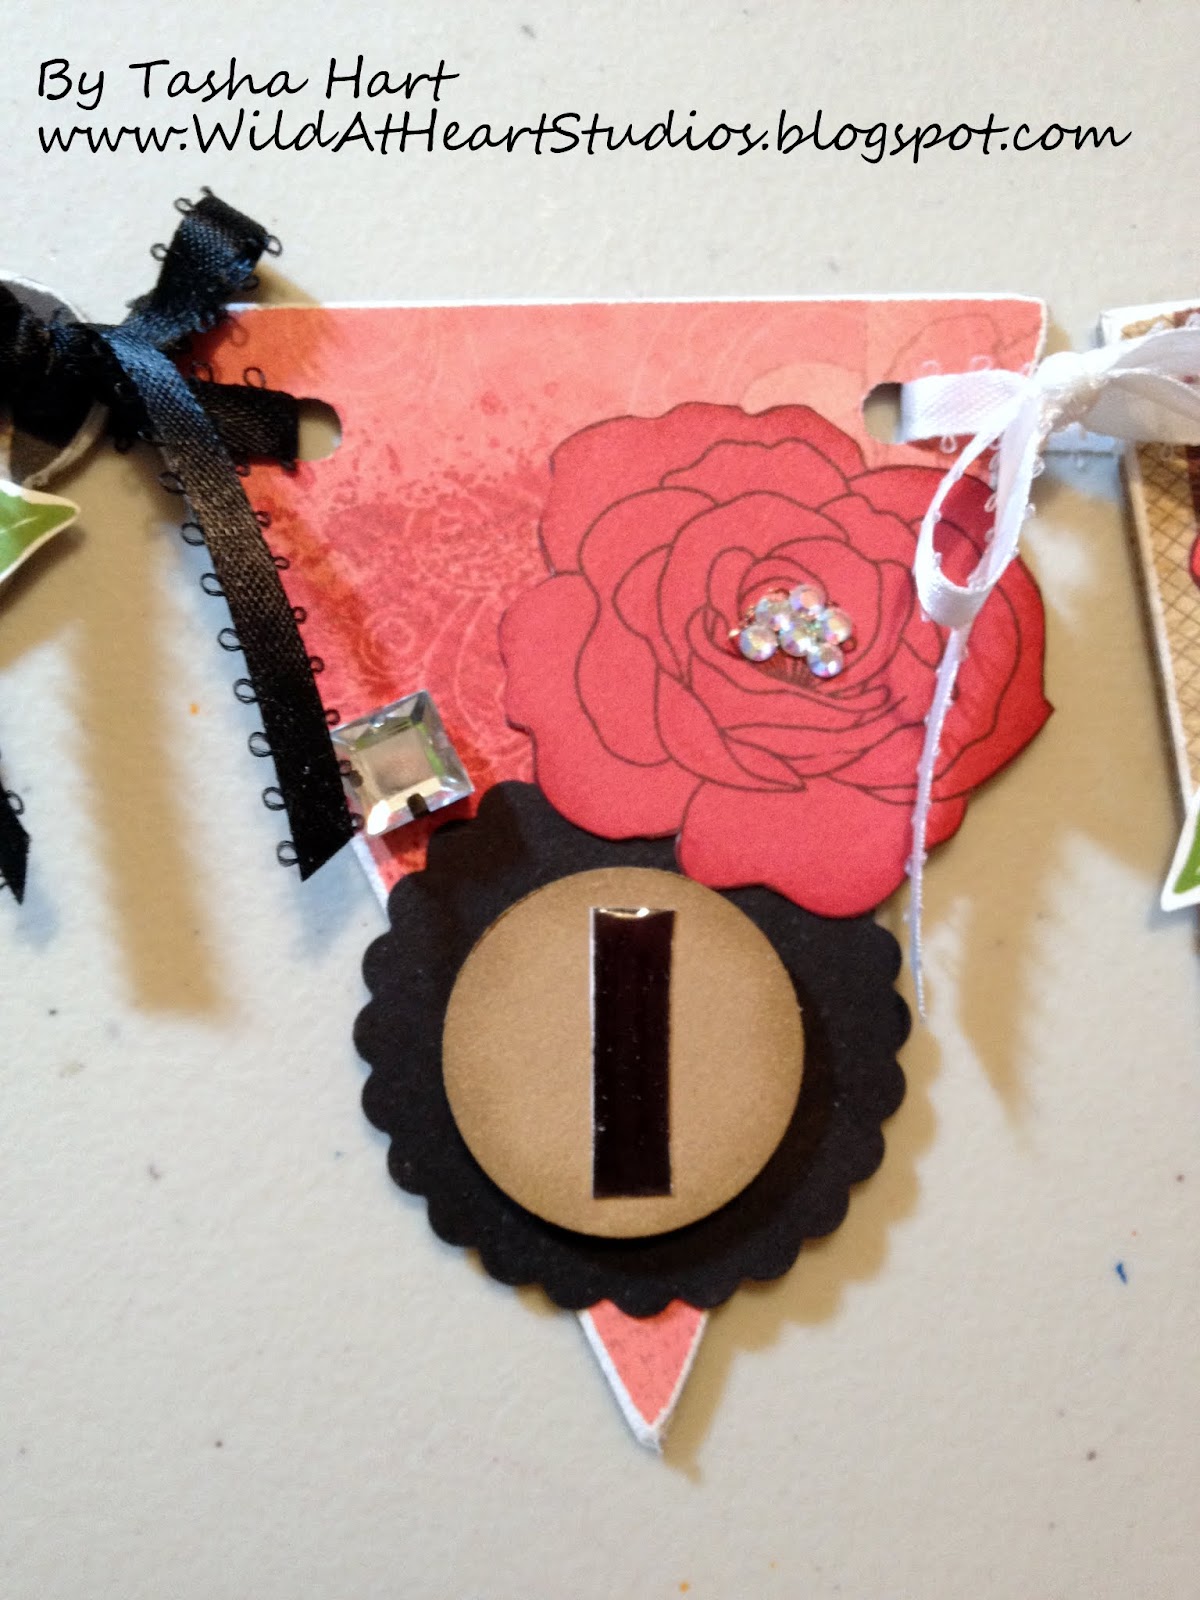
For April I received Bo Bunny Timepiece collection with many extras. I had some input into what paper collections I like this month and I had bought a mini album that was part of the Bo Bunny line so it was my first choice in the paper collections.

When I bought the mini album it was one that I wanted to use for a memory album for my grandfather. He passed away when I was 8 and I don't have a lot of keepsakes from our time together and his life in general so I decided that it was important to start to document the memories I have to keep those so my children may one day get a little insight into my life and his as well. This was a very personal project for me and in trying to copy the photos for this album I have not yet added them yet...but like the album it is a precious reminded that time is necessary and not to be rushed...


To see more of this album check out my May Arts DT Call post.

Throughoutt the month the team members and I would post challenges and I wanted to share a few of them and my projects for them.
Jackie posted a challenge to celebrate the Pony Express...
 To celebrate the Pony Express I would like to see you create a layout or card containing an envelope and a stamp. The stamp can be just a piece of cardstock cut with "stamp" scissors.


Tracy posted a Creative Title Challenge.
This months Creative Titles challenge is to get your title from a song lyrics or a song title.


 Next Alicia posted a great Mix and Match challenge.
My challenge this week is a simple one. I want you to mix and match patterned papers from a minimum of 2 different companies...

We have more challenges that you can check out on the forum and participate in the current ones. I had a lot of fun in the month of April and it was one that had the Easter Mini Challenge too! I hope to see you stop by and say Hi over at the Down A Dirt Road Scrapbooking Forum!

Sunday, March 31, 2013

Beauty

I recently applied for a couple of design teams. Now, I accepted a position over at
I was checking out the forum and the galleries of other members...

Well, I was inspired to try to challenge myself to step out of my comfort zone.

I don't k=normally create using purple. Not sure why but I don't. I have purchased beautiful paper and never touched it...until now!

So after checking out my Pinterest boards I had decided to use one of my pins for inspiration.

I found this to be such a great inspirational piece. If you click on the picture a link will take you to the original source.I used the picture to form my illustration on the dictionary page I used to be the background to my layout.


I had wanted to be able to add this layout to several challenges on the DADR forum. I used brads and decided to cluster them to add some bling and character ~ Challenge #1


I used an old dictionary page and some Christmas bulb hangers. Unique recycling options ~ Challenge #2


I used a scrap piece of pink lace ribbon on my layout to accent the photo - imagine that - a photo on a layout I created... crazy idea! Lace used on a project ~ Challenge #3


Ribbon had been laced through the border I had punched with my new punch I bought on clearance - yay! Two border punches now - hope to add more... Punch used for border ~ Challenge #4


Personal Challenge to Self ~ Step away from my comfort zone... Success! I love how this worked out.


Products Used:
Bohemia MME Cardstock
Webster's Dictionary
Smooch Inks
Ribbon
Thicker Letters
Lush MME brads
Tim Holtz Word Bands
Tim Holtz ChitChat Stickers
Unknown Chipboard Shapes
Unknown Paper Flowers
Close To My Heart Pink Lace Ribbon
Close To My Heart Liquid Glass
Close To My Heart Smokey Plum Ink
Close To My Heart Desert Sand Ink
Close To My Heart Edge Distresser
Christmas Bulb hangers
Martha Stewart Border Punch
Uniball Signo gel ink pen - Black
Harmonie Stamp


Sunday, March 24, 2013

Celebrate Life ~ Create to Live Challenge {March}

I created this page for a challenge over at Susan K. Weckesser's blog. She posted a Create To Live Challenge for March and used this photo for inspiration.


 Now I grabbed a sheet of cardstock and a few stamp sets and gathered my ideas. I wanted polka dots to mimic the upper washi tape and chevron pattern in the cupcake wrapper... While looking I saw this amazing argyle pattern and was set....away I went stamping and spritzing...


I stamped some polka dot patterns and some chevron and polka dot butterflies onto the cardstock and grabbed my white gel pen and started to doodle on the page. Faux stitching around butterflies and for the paths they take to signify my new journey I embarked on last fall. My CIBC Walk for the Cure - my way to celebrate life by giving to those fighting for it. I am adding another journey to my life this year and participating in the Arthritis Walk for my 6 year old daughter with Juvenile Rheumatoid Arthritis.

I decided to doodle my title in part because we all celebrate differently and for different reasons. March is a bittersweet month for me. My daughter was born 6 years ago this month, it is Juvenile Arthritis Awareness month, and my grandfather would have celebrated 73 years of life this year...falling short at 46....  So...for them I chose to celebrate life ~ ups and downs happen ~ life happens ~ it's how you look at them that matters ~

I choose to Celebrate!  


Monday, June 18, 2012

{Presley Banner}

I have blogged about a couple mini banners I have created but never one of the full size banners or the recent custom banner I completed... So here comes another series of posts featuring banners and ribbon...I love ribbon and will be using these posts as entries to the Heart 2 Heart Challenges this week ~ Ribbon!!! Perfect for several of my projects...

Here it goes...

I recently had a great opportunity to create a mini banner for a little girl...My first instinct was "Dotty Paper!!!" but after a few moments and some questions asked I decided to go "Wild Rock Princess" So Roxie it was!

I used three types of pendents and three patterns of paper from the paper packet. This just happens to be one of my favorite paper packs! I knew my customer liked the Trinity Alphabet stamp set so I knew I would be using them for the name...Presley...sounds so Rocker too!


I started by picking my patterns of paper and began tracing and cutting (once again forgetting to use my Cricut and the Art Philosophy Cartridge...) Once all the pieces were cut, I chose to stamp roses from the Card Word Puzzle stamp set in two different card stock shades ~ Tulip and Smoothie. I decided to alternate them one each pendent. My first Idea was to place the name on each rose...not very impacting!!!


I stamped each letter in black and chose to place them on a Desert Sand circle punched out with the 1 1/4" circle punch. I popped it up and layered it onto a Black scalloped circle that I punched with the 2" Scallop Circle punch. I then liquid glassed each letter - amazing effect!


Now each rose needed bling so I chose to use some Crystazzi jewels in two styles and sizes. Some irridescent and some clear... all bling is perfect to me and the more the better.


I LOVE bling so I knew I had to use some of my Teresa Colling Blingage jewels. Beautiful black jewels that hang so perfectly from a few of the pendents...Talk about Princess Glam...

As I started to assemble the pieces I decided to add a glossy black chipboard key to the banner. I wanted it to be a symbol from this mom to her daughter ~ a key to her heart ~ what every mom gives to their child.


Like I said I LOVE bling! So I decided to up the glam factor and added some Jolee self-adhesive Bling. I opted for these over the Bling Buttons because I wanted the square and rectangle shapes and less round or curved shapes to this project.


Tied with black and white satin bows - this banner is sure to make any Wild Rock Princess smile... I know mine was smiling and asking for her own - with more bling of course!

Hope you enjoyed this project and will come check out all the other great projects featured on Heart 2 Heart Challenges. Maybe this is the week you come and play too!

Let's Live Inspired!