Showing posts with label WILD Wednesday. Show all posts

Thursday, December 29, 2011

WILD About... {CTMH 2012 Spring/Summer Idea Book}

I have been so busy with Christmas and trying to finish all my projects that I have had on the go that when I went to the mail this morning, I was pleasantly surprised to find 2 boxes....HEAVY....boxes waiting for me. Well I hulled these boxes to my car....smile on my face....You see, I saw that sweet label "Close To My Heart" and my heart skipped a beat...for I knew what was in these boxes...It was the new 2012 Spring/Summer Idea Books....This is the time of year that all consultants are just waiting for...it's Christmas for Consultants...

I was patient, I drove home, decided that while my house was quiet, I would tape our girls recordable story book....I was super sentimental this year and thought...why not give a gift my kids will always remember me by...or at least my voice...if the years to come! So I read Frosty the Snowman. It went well, I recorded the story and thought, what a great gift....my middle daughter came home and said it was creepy and that Santa needs to fix it cause it's not the man reading it anymore...lol!

After I finished recording the story, I set up my table, got a warm cup of coffee, a pad of paper, two colored pens and a highlighter... Strange sounding I know but...I got the Idea Book out...Checked out the Stamps of the Month...BONUS!!!! They are Fabulous....went to my spot on the table and looked in awe at the cover. I have to tell you it has the most beautiful artwork and the colors are amazing. My first layout will be the one on the cover!!! (Look for it soon!)

I got my pad of paper ready, pens to write out my wish list and highlighter to highlight items I already have. It is my organizational tool for all events and gatherings I go to....I then know if I have or have tried products and am able to show my customers how much I love CTMH. I started to look through the idea book carefully making my list, I checked it twice, and....it was 3 sheets long! Way to go Close To My Heart!!!

OK so since I can't show you all the whole book I thought what better way to give you a sneak peek then to show you little pictures taken from throughout the Idea Book. Now bear in mind that I am not showing you any of the actual products but little pieces of artwork featured.

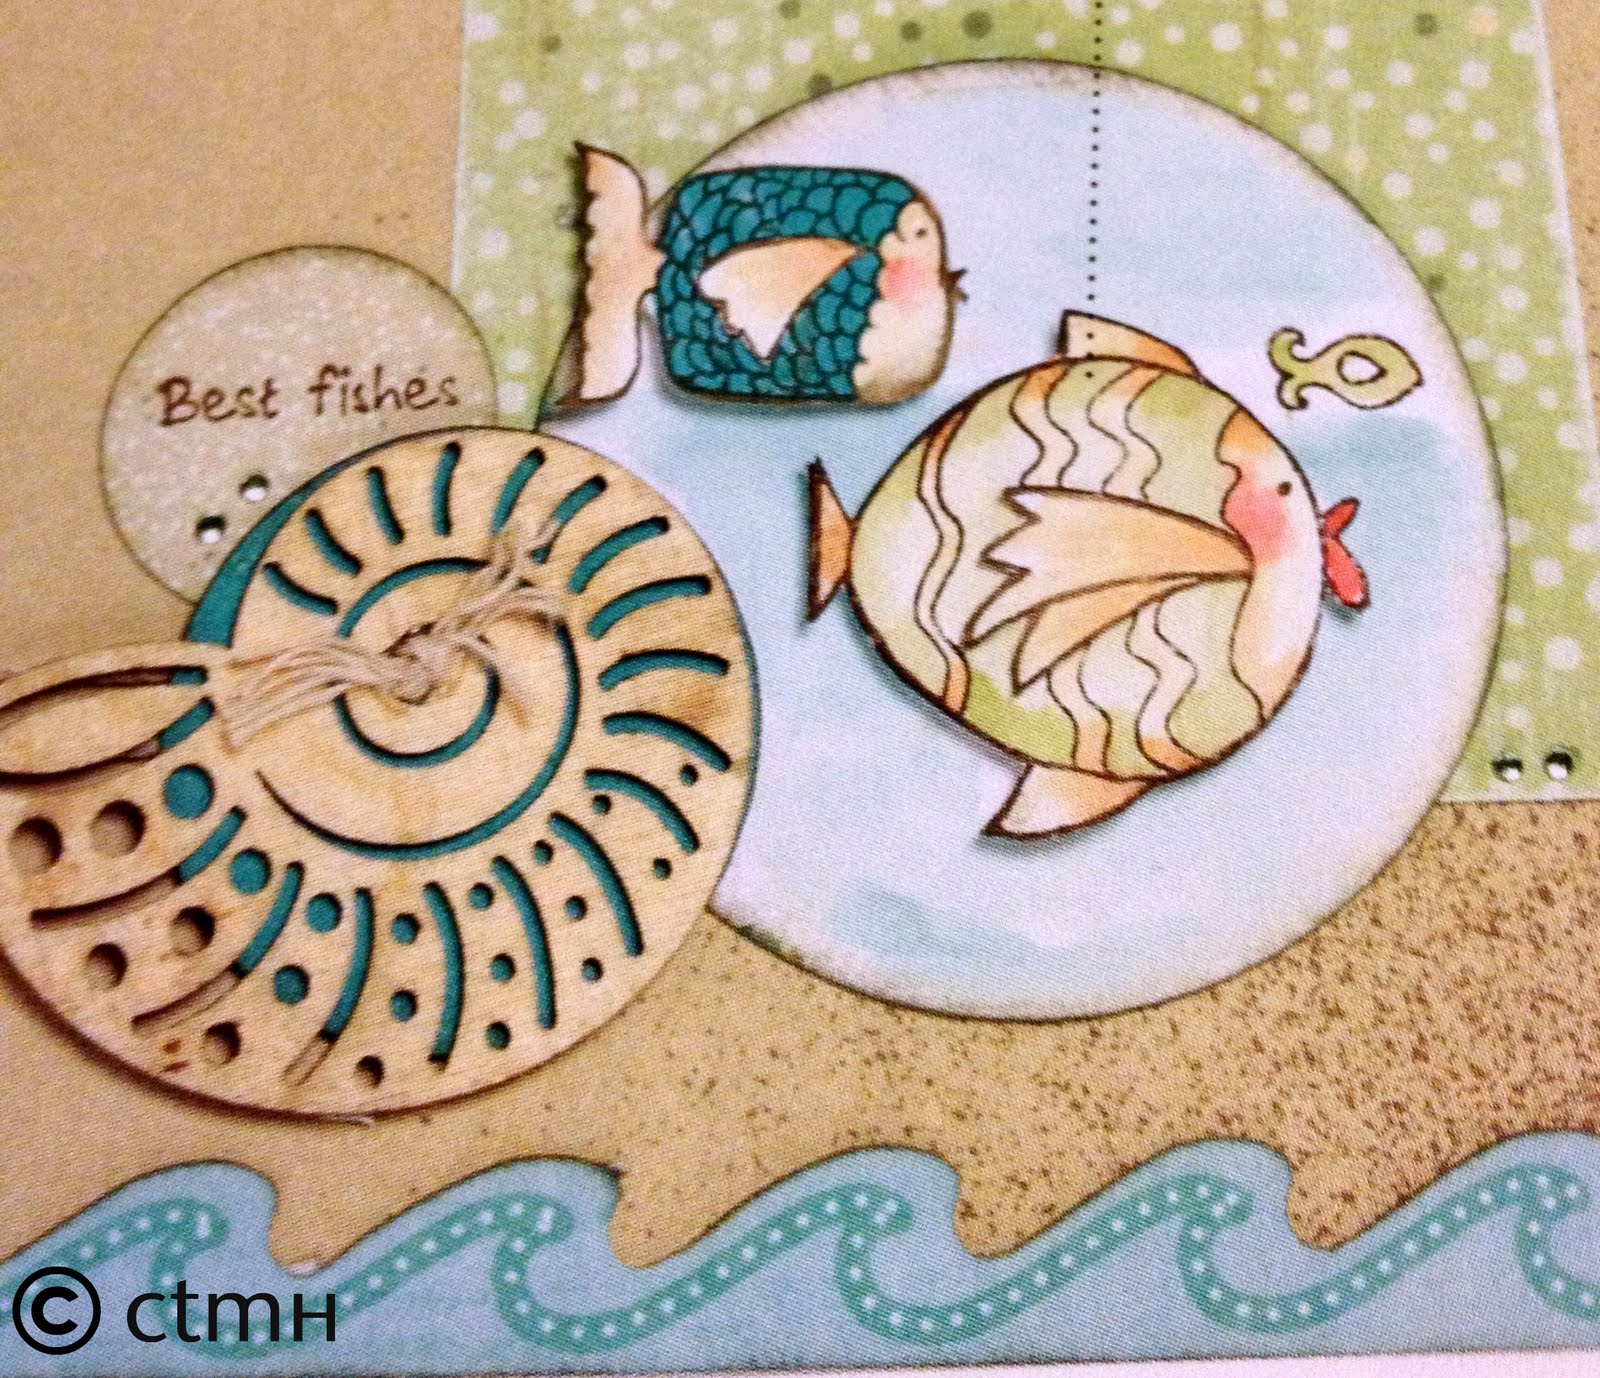


Now I hope all you crafters are excited for Feb. 1, 2012. If you are interested in placing an order please contact me or visit my website. Also in the new year I will be doing a series of giveaways. All you have to do is be a follower! Spread the word so I can get to 50 followers to give away my first surprise. Prize will be posted on Jan. 1, 2012


Let's Get Crafty!



Wednesday, November 30, 2011

WILD About...Button Wreaths

So on a recent trip to the Dollar Store...I found buttons...lol! Now I have a love affair with buttons. I'm pretty sure I could use buttons on every project I make and still have buttons to spare...lol!

So I found these great little pouches of buttons (each having their own color theme) Well since I love Teal and they just so happened to have a pouch with teal and white buttons I bought one...How I ever stopped at one...I will never know!

After purchasing a 6" MDF Wreath from Michaels, I decided to make a Button Wreath.


I used my hot glue gun and began by adhering my larger buttons first and slowly filled in all the spaces where you could see the base. I added a satin bow on the bottom and covered the knot with two layered buttons and added a ribbon hanger and used one of the really unique buttons that came in the pack and it was a ribbon slide type button...perfect for allowing me to add a loop for hanging it from! I also added a couple of buttons to the ribbon at the top to tie the whole thing together.


I think it turned out quite well and made another trip to the Dollar Store to purchase some more pouches of buttons...(in different colors of course!)

Let's Get Crafty!

Snowmen Ornaments

I have been busy crafting away and have begun crafting items using wooden spools. I was looking in the craft aisles and noticed 3 different sized spools and thought...oh wouldn't that make a cute snowman ornament....so my quest began...

What you need to begin...

Wooden Spools (3 different sizes)
White Craft Paint (I uses Ceramcoat ~ Magnolia White)
Sponge Brush
Ribbon (About 12")
Bell
Smooch Pearlized Accent Inks (Gold Lane, Tuxedo)
Hot Glue
Black Hemp (Z282)
Glitter Glue (Black)


I took one of each sized spool and began paining them with white craft paint. I used the Ceramcoat that came with my CTMH Distressing kit and used the sponge brush as well. Once I had them painted...I only lightly painted them allowing the wood to come through in some spots to add some character to them....I let them dry. Once dry I started to adhere them largest on the bottom and working upwards placed the medium spool then smallest. When assembling them be careful to line up the centers of the spools to allow your ribbon to travel through them.

After I had assembled them I started to decorate them. I choose to use my new Smooch inks and draw on my take of a traditional Frosty...I then allowed these new faces to dry and cut my ribbon.

I used a thin piece of wire to guide the ribbon through the centers of the spools. I made sure to tie a double knot at the top to assure I would have a nice loop to hang my ornaments from. Then I took the remainder of the ribbon that was hanging out the bottom of the snowman and placed a bell part way down it (this was NOT an easy task...lol!) Once I had the bell on I tied a know and snipped the ends of ribbon.

Looking at the snowman and I thought he was missing something and figured it out...He was missing arms....I took little pieces of Black Hemp (Z282) and glued on one piece to each side of the middle spool.

Voila! He now had arms but he still looked as though he was missing something... He was missing his hat....I took my Black Glitter Glue and carefully coated the top of my spool to make it all black  to represent the snowman's top hat...

I'm a sucker for embellishing so I may still add a scarf to them...

Well lets see how he turned out...


Let's Get Crafty!

Wednesday, November 23, 2011

WILD About...Wooden Spool Christmas Tree!

So I was checking out all my great crafting magazines and came across a great little Christmas tree that was constructed out of wooded thread spools....Well I thought this was a great upcycling project and that it would be great to showcase how you can use items you find and the great things you can use these otherwise...garbage items!

If only I realized (Not being a sewing-able person!) that getting wooden spools would be very difficult...They are vintage therefore, nearly impossible to locate!!!

I placed ads on local "Find and Seek" sites as I like to call them....lol!

No luck!!!

I checked out Michaels and finally found some! (Had I looked harder I would have found larger packages of 20 for almost the same price!)


I took 12 of these little wooden spools and placed them down into the desired shape I wanted....A Christmas Tree...


I then took my Chocolate Exclusives Ink Pad (Z2111) and a piece of my Sponge (Z697) and began to distress the ends of each spool by rubbing the edges with and inked up sponge...giving the spools a little bit of an aged look and feel.


When I finished that part of the project I cut out stripes of my paper that I wanted to use and then proceeded to ink the edges of each piece to give it a vintage and aged feel and look too!


When these were cut out and distressed I took my Embroidery Thread in the Neutral Assortment (Z1096) and used the Chocolate thread. I adhered one end to one of the spools and began to wind it around the spool until it was covering the spool completely to the other end. I used my Liquid Glass (Z679) to glue both ends to the spool and that spool then became my stump.


After I goth that far I started to glue all my pieces of paper to the spools and used my Liquid Glass again to do this. I wanted to make sure that each piece was going to stay put!


Once all my spools were distressed and papered I took my hot glue gun and started to assemble them into my tree shape. I decided to change the way I had originally placed my top spool so that I could embellish it with a Milepost Shape (Z1464) I picked out a little corrugated chipboard star. I took my Bonding Memories Glue (1512) and ran it over the corrugated raised edges of the star and then sprinkle it with Prisma Glitter (Z134)

(This was after I had distressed the star of course!)


I then placed a little button with some Natural Hemp (Z280) tied through it and glued it to the star. I took a few little metal snowflakes ( I got these out of a little bag of glass stones I purchased years ago) and glued them to the spools.

Hope you liked this great little project I created for the holidays!

If you are interested in any of the great CTMH products I used please check out My Website
Let's Get Crafty!


WILD about... Christmas Ornaments!

Well here I am finally able to blog once again...I went to a great trade show this last weekend and it was fabulous!!! I took some extra product I had and sold it at the trade show. I also took my handmade cards and tags and other hand crafted items. I did good and had a great time sharing my love for Close To My Heart! A great way to celebrate 1 year with CTMH!!!

So now that I explained my absence from my blog I wanted to share with you a few items I created for the trade show. I created some hanging ornaments that I had gotten some inspiration from a twitter post.
Twitter Ornament Inspiration

So here goes my attempt at recreating this great ornament and making it my own! I made 4 different ones!!!


I started out with these great little resin frames that I found at Michaels. I found red square frames, green oval frames, silver rectangle frames and gold circle frames. Of course I bought all of them!!! So once I had my frame I flipped it over and removed the stand off of the back


I then took the insert out of the frame and cut out my paper that I wanted to place into the frame. For this one I used CTMH Wonderland Level 2 Paper (X7146B) and cut it out the the dimensions needed to fit into the frame.


I then picked out some ribbon to use  for the ornament and chose some great Martha Stewart ribbon that I found and proceeded to hot glue it to the back of the frame.


Once I had the ribbon adhered I decided to focus on the front of the frame and decorating it. I wanted to keep these ornaments looking classy and elegant. I took some of the ribbon I used already and tied a cute little bow and hot glued it to the front of the ornament.


After I took a few minuted to look and absorb the finished product I realized it was too plain for me and decided it was missing something....lol!


But what?!?!?


In the end I decided to use my Gelly Embossing powder and my Holiday Cheer (B1381) to stamp and emboss the inside paper and add a simple and refined look to the ornament.

Here are a few of the other ones I created!
Enjoy!

Red Square Ornament with Believe Level 2 Paper (X7145B)


Red Square Ornament with Believe Level 2 Paper (X7145B)


Green Oval Ornament with Believe Level 2 Paper (X7145B)


Green Oval Ornament with Believe Level 2 Paper (X7145B)


Gold Circle Ornament with Wonderland Level 2 Paper (X7146B)


Hope you enjoyed this project and get some great inspiration for your own great Christmas season projects!

If you are interested in more information please feel free to Contact me
If you are interested in any of the great CTMH products I used please check out My Website

Let's Get Crafty!

Wednesday, November 9, 2011

WILD Wednesday!

Welcome Wednesday! Today definately feels like Hump Day! I was checking out various things online today to get my post together when I came across a great Campaign going on tat really gets you in the true holiday spirit.

Susan K. Weckesser, has a great blog and Facebook page that really shows a person what it means to share your love for those around you and your papercrafting. Susan's Blog features some great things and more information and a blinky for your blog after you share your love in her 3rd. Annual Christmas Love Campaign. You make a card for a neighbour, family member or anyone you would like to and upload a picture onto her facebook page Christmas Love Campaign Page sharing your story behind the card. I already posted a card that I made out of  the Close To My Heart Wishes Card Confidence Program (9033)

Without going into too much detail I will post the set of eight cards created using one of the great card templates featured in the how to book. I used various CTMH products like Jingle paper (Retired paper pack) and the Holiday Jingle Stamp Set (C1371 - Retired), CTMH Exclusive inks and various Sparkles to coordinate with my stamped images and papers. I also used a little piece od Sassy Strands (Also a retired CTMH product) So here are the cards!

Card 1


Card 2


Card 3


Card 4


Card 5


Card 6


Card 7

(This is my featured uploaded card to the Christmas Love Campaign - above pictured card)

Card 8


I know these cards are not the fanciest card but I wanted to use retired products and keep it simple and true to the products when they were used by CTMH. And I wanted each one to be unique - like a snowflake!

Now I encourage everyone to submit a card and story and try to do it each week. Each week until Christmas I will be submitting a photo of something I have created for others around me and the story behind each item! Look forward to seeing what others come up with.

Now Close To My Heart features videos all the time and I would like to share these with you from time to time. I find it nice to see what others create and share using the products I love.

Art & Soul ~ The Sparkle of the Season

I found this to spark my creativity!

Let's Get Crafty!